Strawberry Bareroot Growing Guide
Learn how to plant and grow bare-root strawberries for strong roots and long-term harvests. This guide covers planting depth, spacing, fertilizing, pests, and variety selection for productive berry patches.
Choosing the right watermelon to grow can get very technical and oftentimes confusing. Like most fruits and vegetables that can simply and easily be broken down into hybrid and open-pollinated, watermelons can bend, and sometimes break the rules especially when it comes to pollination. To throw a wrench in those gears even further, watermelons also come in seedless varieties that require special circumstances to be pollinated. To keep things simple, let’s cover the differences between seedless watermelons and traditional seeded watermelons.
The first thing to know about seedless watermelons is that they are actually not technically seedless. No doubt you’ve cut into a watermelon and seen the small white seeds that are dispersed through the fruit. These are actually empty seed casings that are perfectly fine to eat.
What makes a watermelon seedless is actually quite technical from a botanical standpoint. The main takeaway is that when you order a seedless watermelon variety from HOSS, you will actually be getting 2 different seed packs. One is a seed that will produce female flowers but also has male flowers present. The pollen in the male flowers is not typically enough to fertilize the plant. Because of this, we include a separate pollinizer seed that will produce the male flowers needed to guarantee successful fertilization.
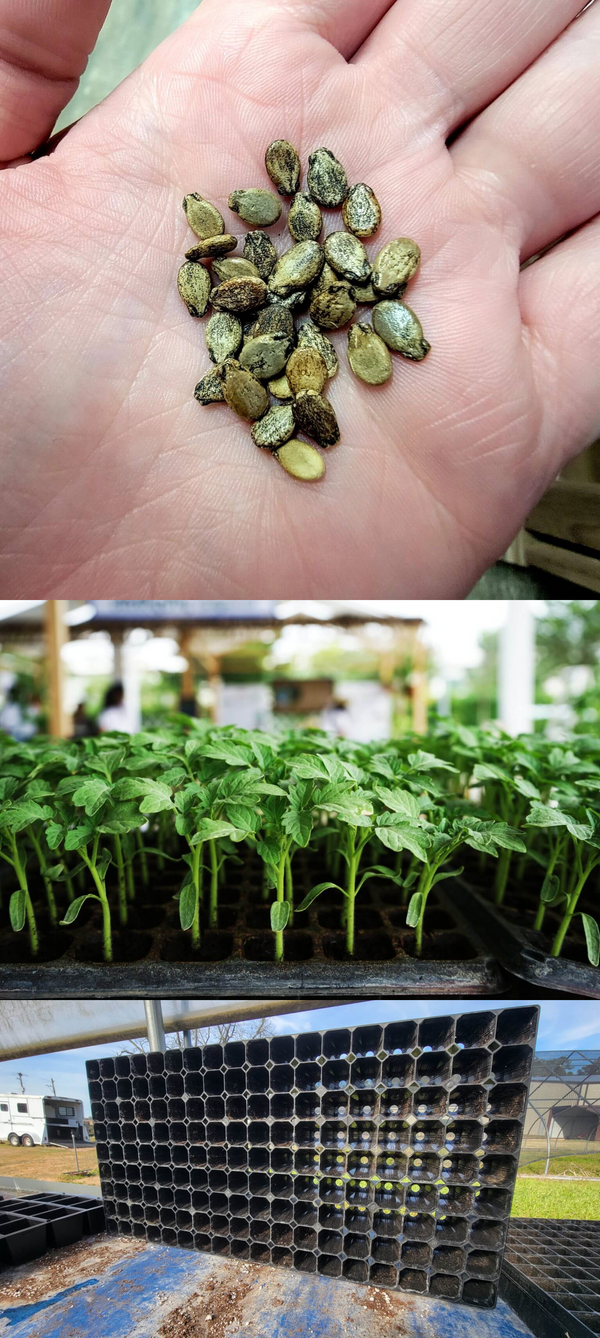
This is the more traditional watermelon that most people have grown to know through the years. Seeded watermelons have thick black seeds within the fruit that are fertile and, depending on the variety, can be saved and planted for another crop. Not all seeds from traditional watermelons can be saved, though. For example, seeds from F1 hybrid watermelons cannot be saved to plant again. Below are our favorite traditional watermelons seeds to grow in our area.
As any gardener knows, when you have a plant that can either be directly planted in the ground or transplanted, there are pros and cons to both. At HOSS, we always err on the side of starting your watermelon seeds in trays because it has proven to be a more successful strategy for our gardens and our space. We know that every garden is different but we always highly encourage starting seeds in trays when you have the option.
Benefits Of Starting Seeds In Trays
Benefits Of Direct Sowing Seeds
Watermelon seeds should be started indoors at least 4 to 6 weeks before the last frost date for your zone. We recommend using our 162 Seed Trays for best results.
Zone 10 – December 15th
Zone 9 – January 15th
Zone 8 – February 20th
Zone 7 – March 15th
Zone 6 – April 1st
Zone 5 – April 20th
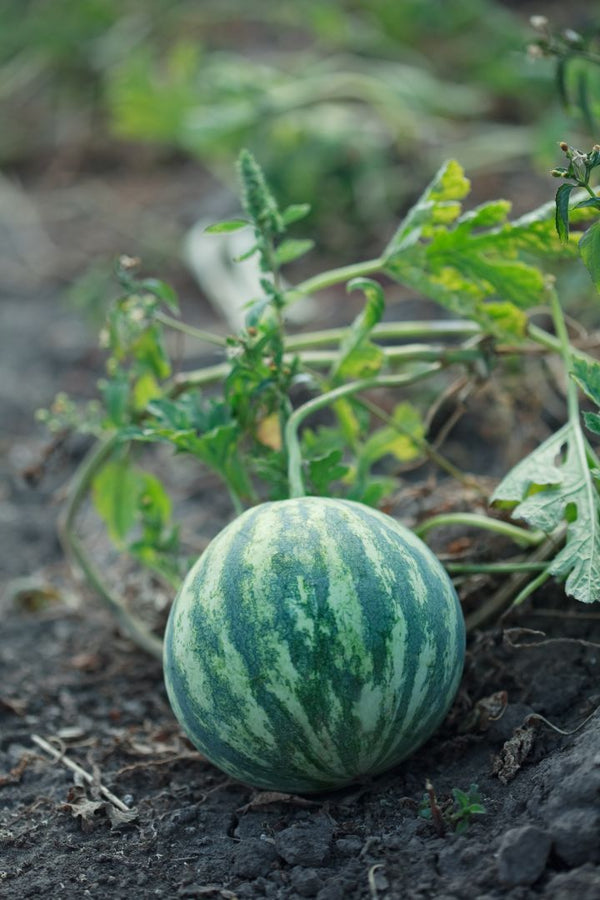
All varieties of watermelon have one thing in common: they need lots of room to grow. Contrary to popular belief, even growing smaller varieties like the Sugar Baby Watermelon needs the same amount of room to grow as the massive Jubilee Watermelon. The main thing to remember is that it isn’t the size of the fruit that you’re growing, it’s how far out the vines sprawl that you have to accommodate for. A good rule of thumb to grow watermelons is to dedicate at least 20 square feet per plant in your garden.
Learn how to plant and grow bare-root strawberries for strong roots and long-term harvests. This guide covers planting depth, spacing, fertilizing, pests, and variety selection for productive berry patches.
Learn how to grow fresh ginger root at home—from planting and fertilizing to harvesting and storage. This guide covers everything you need to grow baby or mature ginger successfully, even in cooler climates.
Learn how to grow crisp, flavorful carrots from seed to harvest! This guide covers soil prep, planting, watering, and storage—plus variety tips for every soil type and garden size.


