


Collards Growing Guide
Learn how to grow tender, flavorful collard greens from seed to harvest! This guide covers planting, spacing, watering, fertilizing, and pest control—plus tips on storage and why collards taste sweeter after a frost.

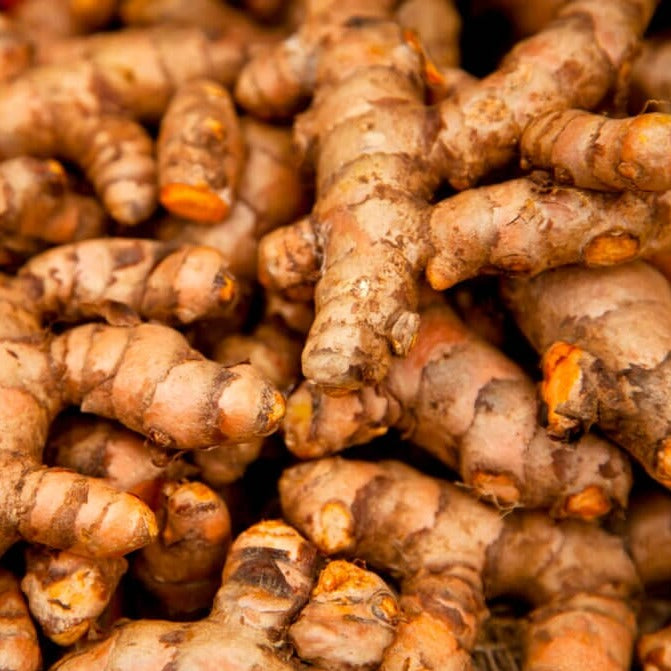
Turmeric (Curcuma longa) is a perennial plant in the ginger family, native to the Indian subcontinent and Southeast Asia. Its rhizomes (underground stems) are used to produce a bright yellow-orange spice, also called turmeric, which is widely used in South Asian cooking. Turmeric is a common spice and a major ingredient in curry powder. It is also used as a natural food coloring agent and a preservative because of curcumin. How deeply orange the color is a direct indication of how much curcumin it contains, meaning it has a higher health value!
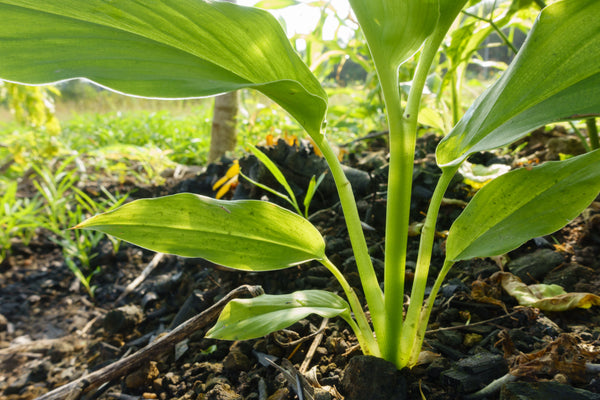
Turmeric grows from rhizomes rather than seeds. Turmeric grows best in well drained, high organic, fertile soils. While turmeric loves the sun and heat, It will grow well in full sun to partial shade, but will benefit from some shade in the hottest climates (when over 90 degrees F). If planting in-ground, choose a planting location that has good drainage. Turmeric requires 8 to 10 months of frost-free growing, from planting to harvest. Turmeric can be planted any time of year. Turmeric can be grown outside year-round in USDA zones 8 and higher, in the ground or in containers. In zones 7 and lower, turmeric will need to be planted in a container indoors, and brought outside when the weather warms up enough. If you start turmeric inside, you will need to harden off your plants before keeping them outdoors regularly. If you plant it in a container, it should be at least 12” in diameter.
Turmeric is a slow and steady grower, so don't worry if you don't see sprouts right away! Turmeric simply needs consistently warm soil temperatures (around 75–85°F) to get going, so depending on your location, it could take longer to sprout! Be patient, keep the soil moist but not soggy, and give it time.
Remember, growing turmeric is a lesson in patience—but the harvest is well worth the wait!
Row Spacing - 3 to 4 feet
Plant Spacing - 12 to 18 inches
Planting Depth - 3 to 4 inches
Row Spacing - 2 to 4 feet
Plant Spacing - 12 to 18 inches
Planting Depth - 3 to 4 inches
Turmeric plants need at least 1 inch of water per week. Using drip irrigation is always recommended to be sure that your plants are getting moisture directly to their root system. If you’re using conventional overhead watering techniques, try and use something like the Dramm Watering Can and water and fertilize at the base of the plant to keep moisture off the leaves.
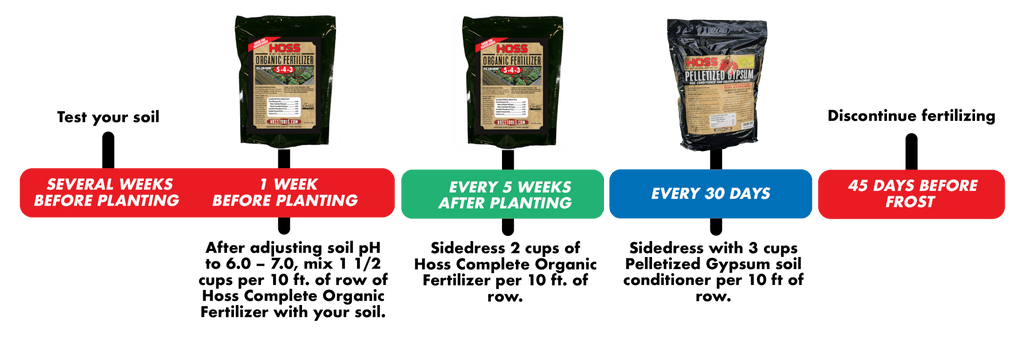
Test your soil with the HOSS Soil Sample Kit.
After adjusting soil pH to 6.0 – 7.0, mix 1 1/2 cups per 10 ft. of row of Hoss Complete Organic Fertilizer with your soil.
Sidedress 2 cups of Hoss Complete Organic Fertilizer per 10 ft. of row.
Sidedress with 3 cups Pelletized Gypsum soil conditioner per 10 ft of row. Discontinue fertilizing 45 days before frost.
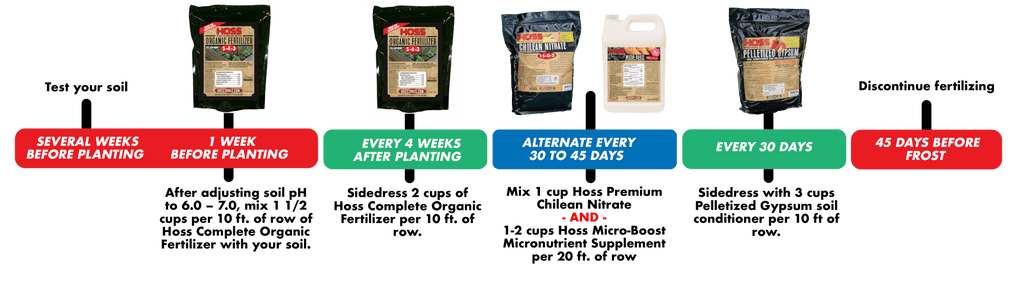
Test your soil with the HOSS Soil Sample Kit.
After adjusting soil pH to 6.0 – 7.0, mix 1 1/2 cups per 10 ft. of row of Hoss Complete Organic Fertilizer with your soil.
Sidedress 2 cups of Hoss Complete Organic Fertilizer per 10 ft. of row.
Mix 1 cup of Hoss Premium Calcium Nitrate -AND -1-2 cups of Hoss Micro-Boost Micronutrient Supplement per 20 ft. of row.
Sidedress with 3 cups Pelletized Gypsum soil conditioner per 10 ft of row. Discontinue fertilizing 45 days before frost.
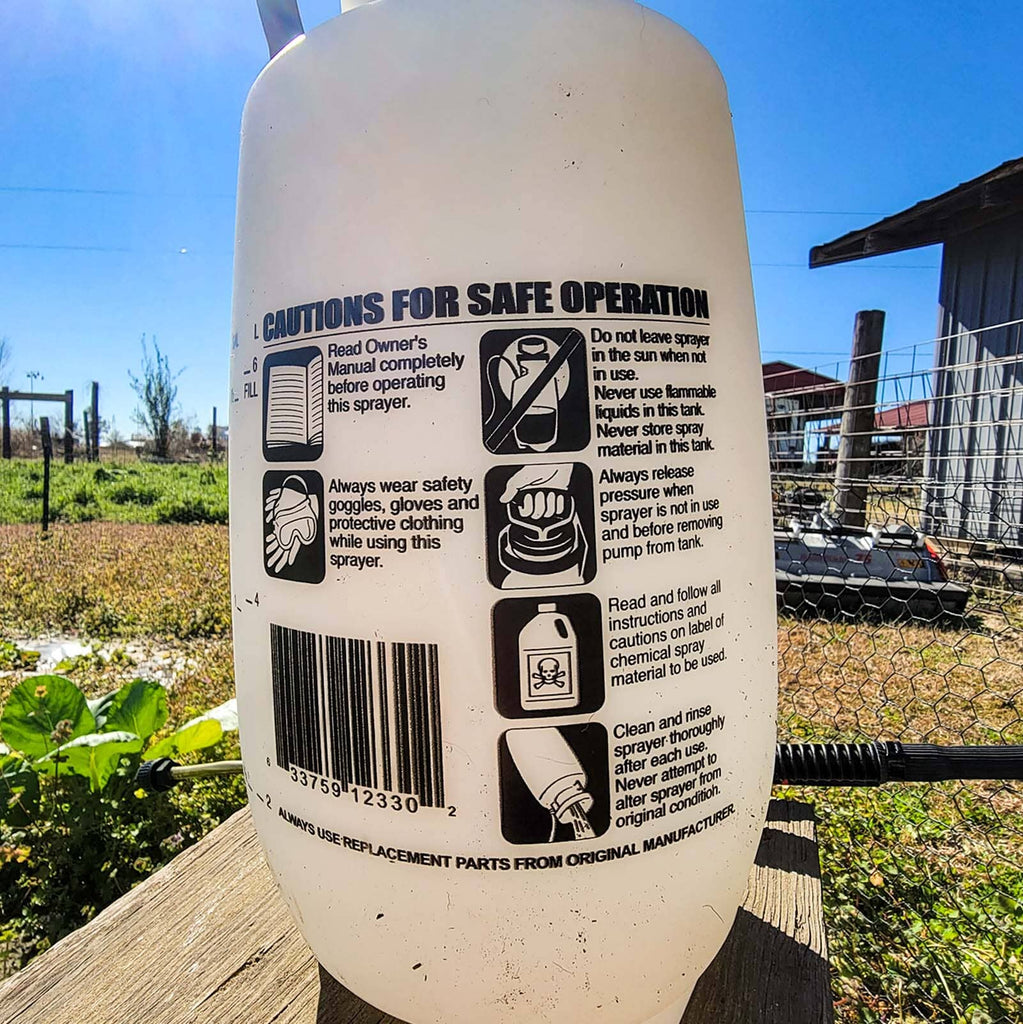
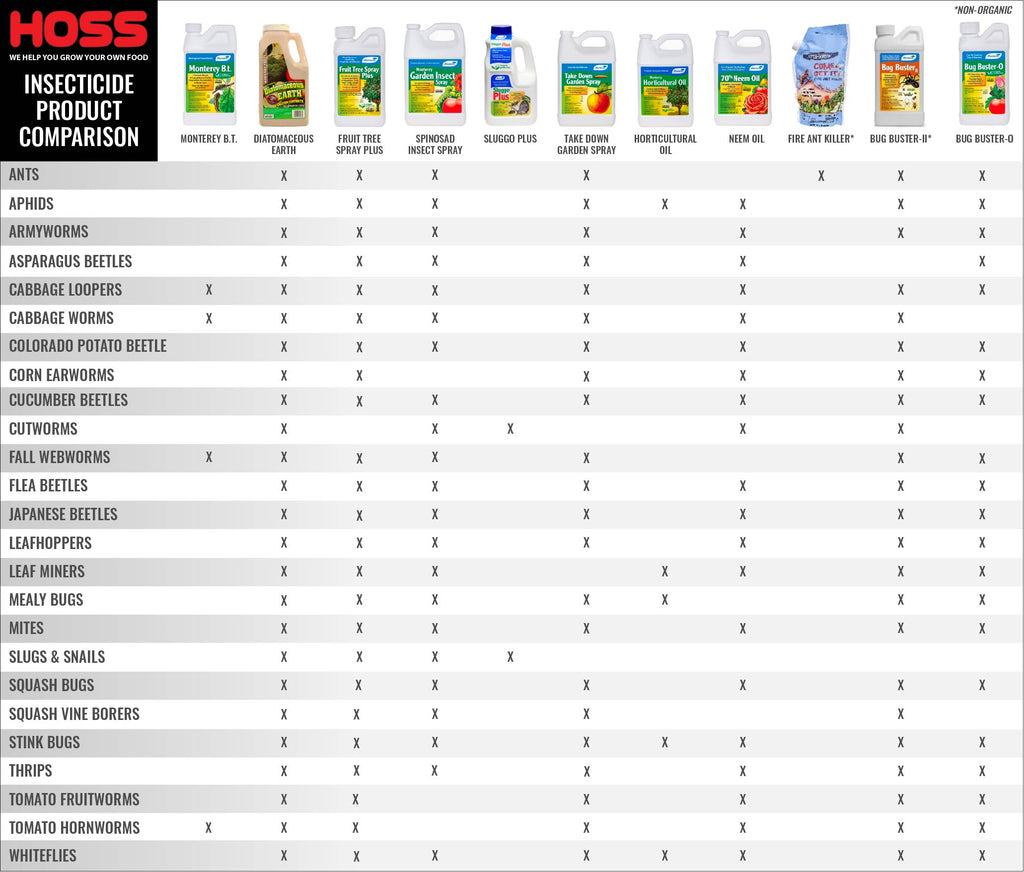
Turmeric is unlikely to have much issue with pests.
Turmeric leaves will start to turn yellow-brown and dry when it is time for harvest, particularly the outer leaves. This could easily take up to 10 months from planting. Gently dig down with your hands or a trowel in a wide pattern around the turmeric stalks to loosen the soil, taking care not to stab and damage the rhizomes. We personally use a 4-prong digging fork because it does not cut the rhizomes like a shovel will. Only once the soil is loose enough, you can either gently pull up on the stalks or scoop them out from below. It’s important to note that turmeric stains easily, so it’s a good idea to wear gloves and old clothes when handling the fresh rhizomes.
Carefully cut the rhizome hand away from the stalk. Also, they will have some odd long roots attached to them, which can be cut off with clean scissors or snips and composted. Then, allow the skins to thoroughly air dry before putting them away in storage. This can take several days to a week, depending on the drying method and humidity. Once the rhizomes are fully dry, they can be stored in an airtight container in a cool, dry place. You could also break some of the rhizomes off for your use and replant the remainder. Turmeric can be used fresh, but it is most commonly dried and used as a powder.
Turmeric also has a long history of use in traditional medicine, where it has been used to treat a variety of ailments, including digestive disorders, inflammation, and infections. In recent years, turmeric has gained popularity in the Western world for its potential health benefits, particularly its anti-inflammatory and antioxidant properties. Curcumin, a compound found in turmeric, is believed to be responsible for many of its health benefits. Turmeric has been scientifically proven to be one of the most powerful antioxidants, anti-inflammatory plants known to man. Its medicinal properties include protection against cancer and Alzheimer’s as well as pain relief, and much more.
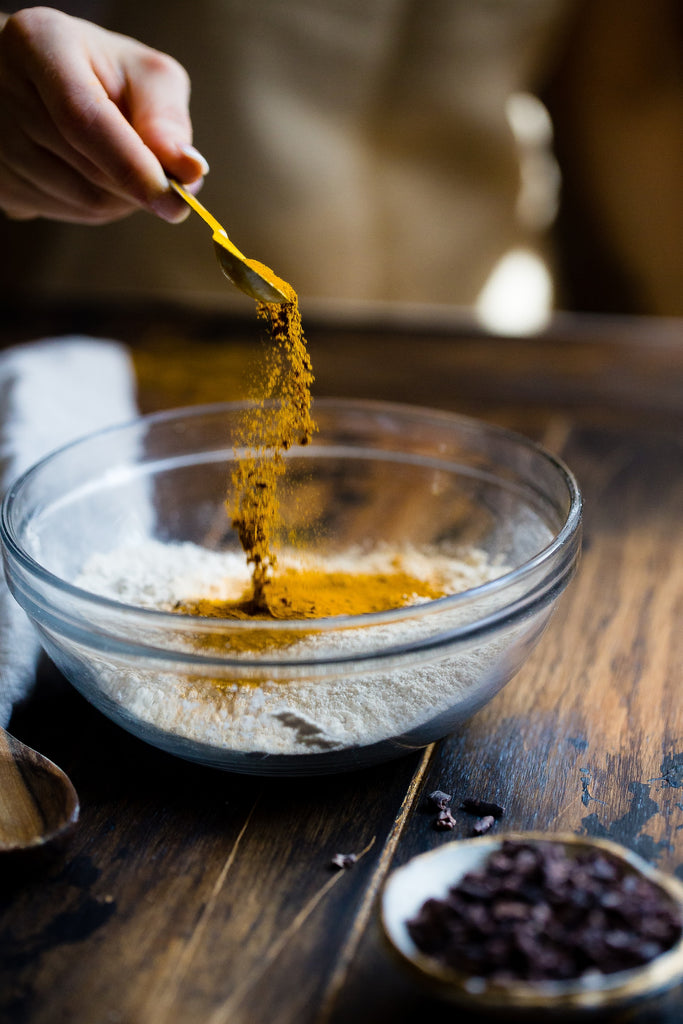
To reap the optimum health benefits, always add a dash of black pepper with your turmeric! Black pepper vastly increases the bioavailability and absorption of curcumin, as consuming ¼ teaspoon of pepper with curcumin increases the bioavailability by 2000%. Even with just a pinch of pepper, levels significantly increase. Also, consuming it as a whole food or root (even dried and ground) as opposed to curcumin extract, or consuming it with fats like oils or milk, also significantly increases bioavailability.
Learn how to grow tender, flavorful collard greens from seed to harvest! This guide covers planting, spacing, watering, fertilizing, and pest control—plus tips on storage and why collards taste sweeter after a frost.
Grow juicy, sweet blackberries right in your backyard! Learn how to plant, prune, water, and fertilize for maximum harvests, plus tips for trellising, pest prevention, and long-term berry production.


