Strawberry Bareroot Growing Guide
Learn how to plant and grow bare-root strawberries for strong roots and long-term harvests. This guide covers planting depth, spacing, fertilizing, pests, and variety selection for productive berry patches.
Peppers are a long standing favorite among gardeners who want to grow their own food. They provide a bright pop of color, come in many many varieties and flavors and are usually heavy producers from just a single plant and can be used in a variety of ways in the kitchen. Peppers belong to the nightshade family alongside eggplant and tomatoes so when planning on where to grow your pepper plants, keep in mind that you don’t want to plant where a previous nightshade has been grown. Because there are hundreds of varieties of peppers, the best way to decide on which pepper seed you want to start is deciding on what flavor you and your family prefer and how you intend to use them. Most peppers can be broken down easily into 2 categories: hot peppers and sweet peppers.
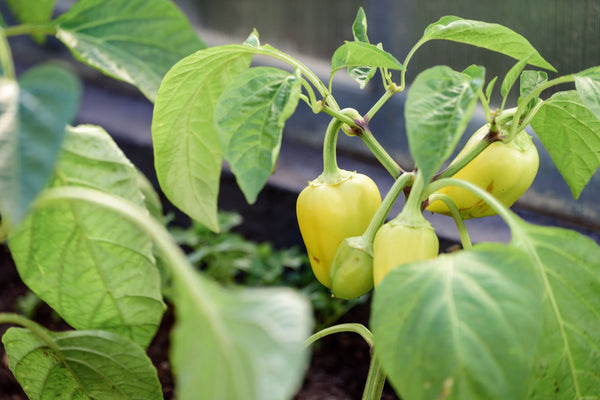
Sweet peppers are called sweet not necessarily for their sweet flavor, but to separate them from the heat that comes from hot peppers. While the sugar content in some sweet pepper varieties actually makes them have a sweeter flavor profile, it is their low level or complete lack ofcapsaicin, which is the compound that gives hot peppers their heat.
Some of the most popular sweet pepper varieties are Bell Peppers, Poblano, Banana, and Cubanelle.
Hot peppers, also known as chiles, range from pleasant, mild heat all the way to mind-numbing, scorchingly hot. It’s all based on the Scoville units that particular variety contains. A Scoville Heat Unit is a system that was developed to determine how hot a pepper is based on its level of capsaicin. Hot peppers typically take longer to germinate, so be patient with these varieties while they’re coming up. Some popular hot peppers are the Ghost Pepper, Jalapeno, Carolina Reaper, and Trinidad Scorpion. Below is a handy chart for how some common peppers stack up on the heat scale.
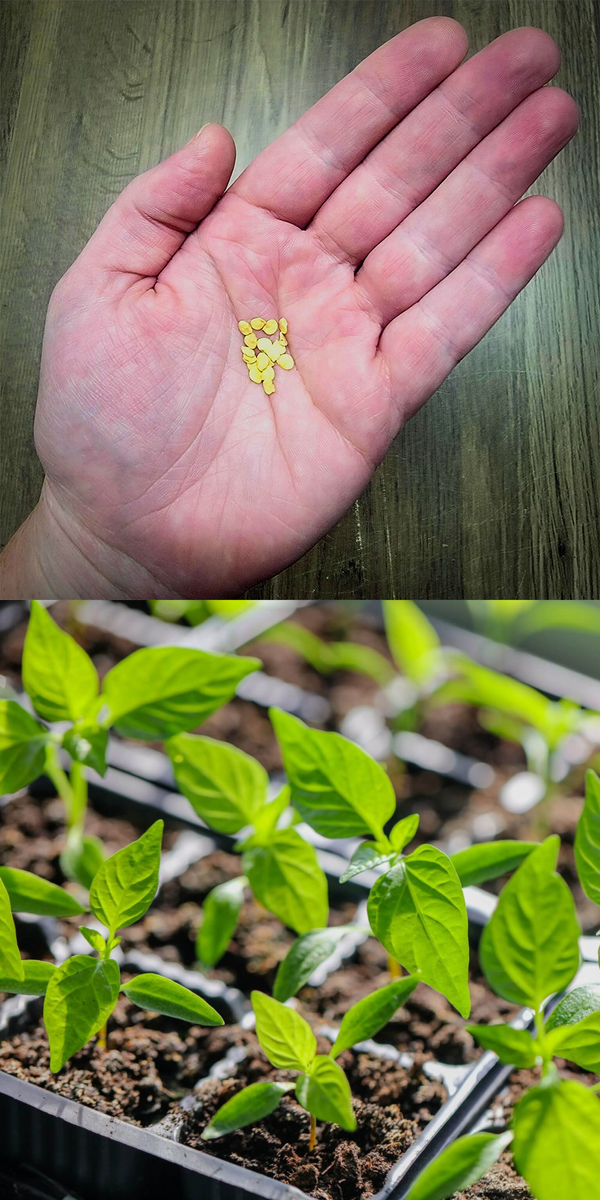
As any gardener knows, when you have a plant that can either be directly planted in the ground or transplanted, there are pros and cons to both. At HOSS, we always err on the side of starting your pepper seeds in trays because it has proven to be a more successful strategy for our gardens and our space. We know that every garden is different but we always highly encourage starting seeds in trays when you have the option.
Benefits Of Starting Seeds In Trays
Benefits Of Direct Sowing Seeds
Pepper seeds should be started indoors at least 8 to 12 weeks before the last frost date for your zone. We recommend using our 162 Seed Trays for best results. Zones 1 and 2 typically have too short of a season to grow peppers and zones 10-13 typically don’t suffer from freezing temperatures so pepper seeds can be started any time.
| Zone | Last Frost Date | Indoor Start Date |
|---|---|---|
| 3 | May 1 - 15 | March 6 - 20 |
| 4 | May 23 - June 13 | March 28 - April 18 |
| 5 | May 9 - June 4 | March 14 - April 9 |
| 6 | April 28 - May 14 | March 3 - 19 |
| 7 | March 30 - April 16 | February 2 - 19 |
| 8 | March 13 - 29 | January 16 - February 1 |
| 9 | February 6 - 28 | December 12 - January 3 |
Because pepper seeds take so long to germinate, when starting your seeds, keep them isolated to one tray and don’t start other seeds with them. Other plants may shade out the soil or cause your peppers not to germinate well. Even if you end up with extras, they make a great gift to give to neighbors and friends so they can also grow peppers.
There are a lot of gimmicks out there about what to do with seeds before planting. From soaking seeds in buttermilk to putting an egg in the hole, there are all kinds of tips and tricks you’ll find to be successful. While some of those may or may not work, the best advice we want to give for any level gardener is to keep it simple and stick to the basics. Be patient with your pepper seeds and, when in doubt, reach out to us at HOSS and we are more than happy to help you along the way.
Learn how to plant and grow bare-root strawberries for strong roots and long-term harvests. This guide covers planting depth, spacing, fertilizing, pests, and variety selection for productive berry patches.
Learn how to grow fresh ginger root at home—from planting and fertilizing to harvesting and storage. This guide covers everything you need to grow baby or mature ginger successfully, even in cooler climates.
Learn how to grow crisp, flavorful carrots from seed to harvest! This guide covers soil prep, planting, watering, and storage—plus variety tips for every soil type and garden size.


