Left Continue shopping
Your Order

You have no items in your cart

You might also like
From $2999
Show options
From $499
Show options

Horehound Growing Guide

What is Horehound?

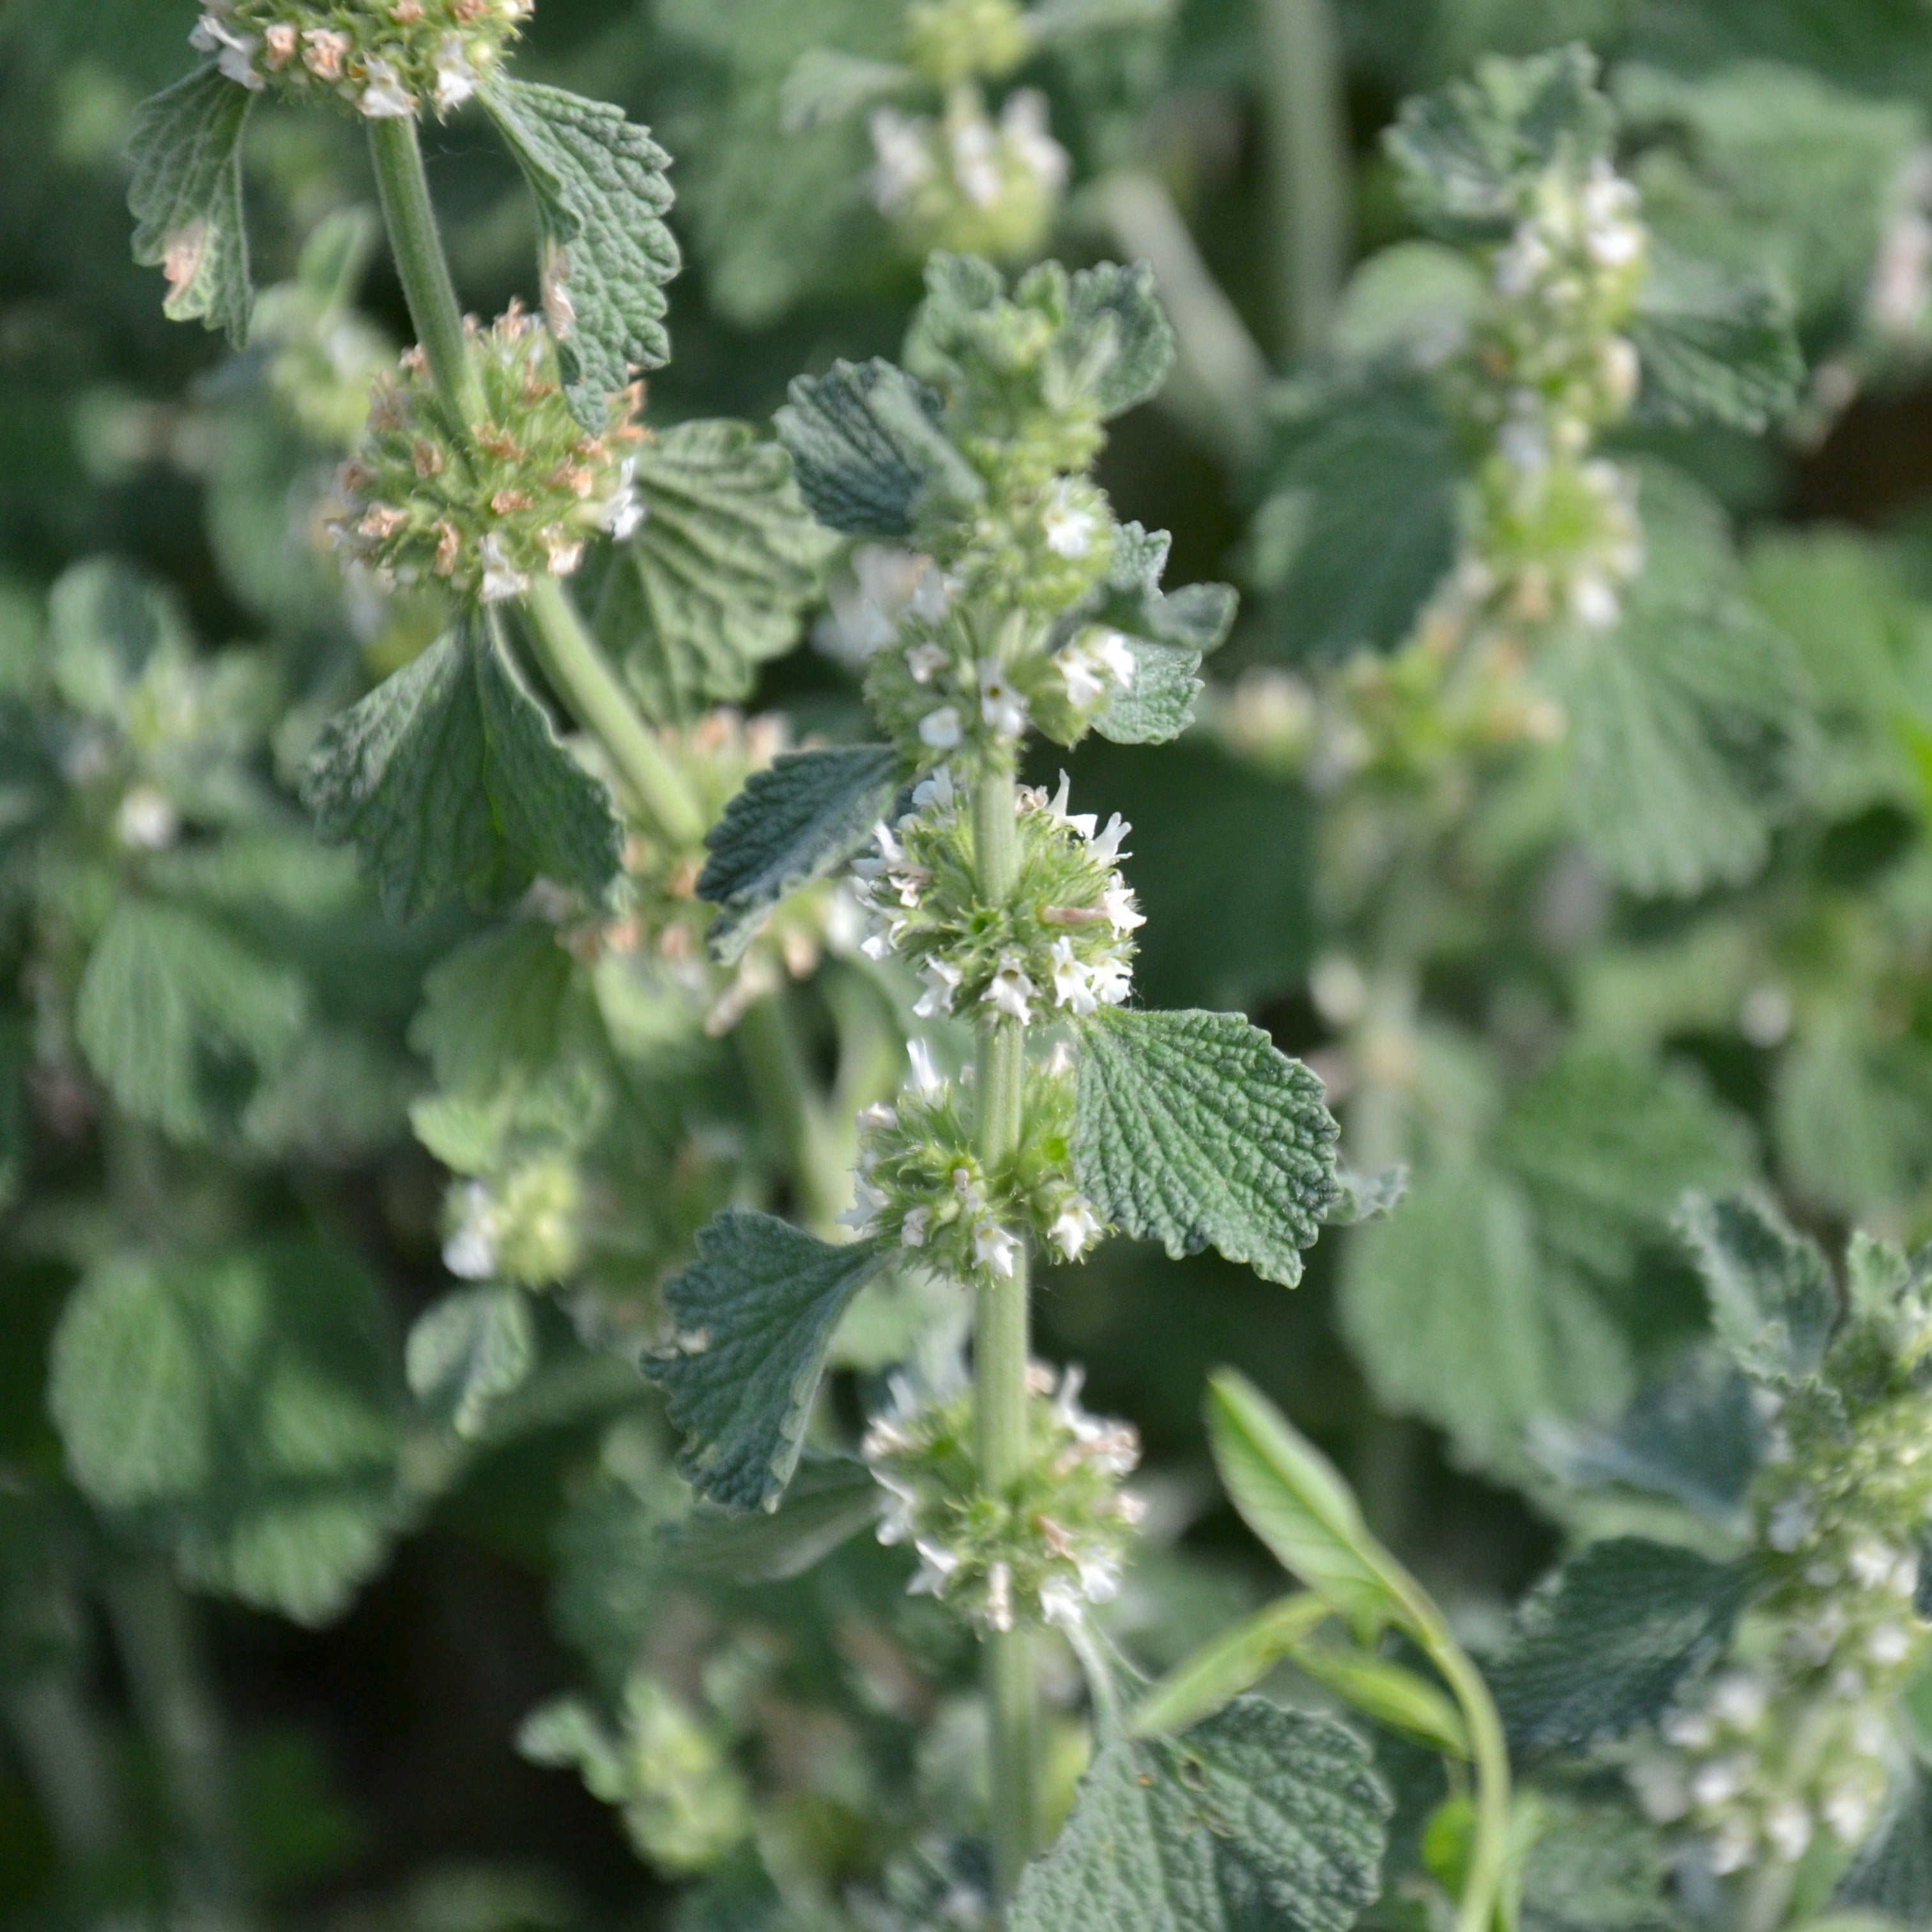
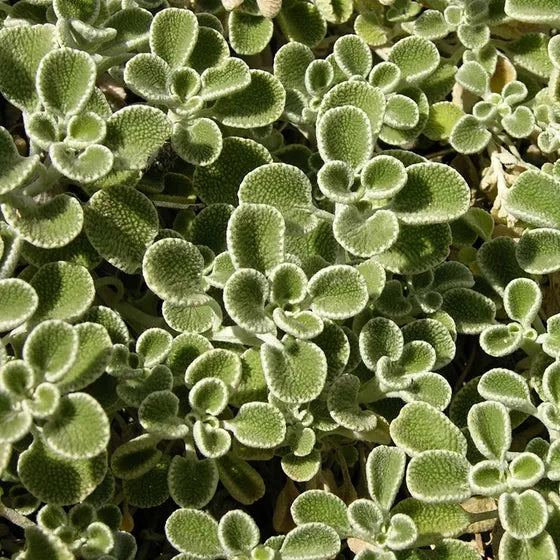
Horehound features ornamental foliage that have a slight heart shape. The name “horehound” is likely a derivative of the Old English word horhoune, which means hoary or hairy, as both the leaves and stems are covered in fine hair. The herb is native to Europe, northern Africa, and southwestern and central Asia. Horehound is known as one of the strongest anti-inflammatory medicinal herbs. It is valued for its medicinal purposes in modern cultures around the globe. Horehound is an expectorant and people use it to relieve coughs, loosen mucus, increase the flow of saliva, and stimulate the appetite. Horehound grows best in zones 3-9. Plants grow to about 30 inches tall and two to three feet wide. They spread via runners and self-seeding, so to reduce invasion, remove the flowers as they appear. While not too picky about soil conditions, horehound does prefer dry, sandy soil. Horehound sprouts in 14-21 days. Once your plant flowers, use shears to cut the foliage away from the base of the plant. Leave enough room for regrowth to occur.

How to Start Growing Horehound

Horehound prefers full sun and rich, well-drained soil. The best time to plant horehound is in the spring whether you’re planting from transplant, cuttings, or seed. This gives it plenty of time to grow strong roots before going dormant in the winter. Keep flowers clipped if you want to prevent reseeding and spreading, otherwise plants will readily reseed and grow aggressively, like other mints. Do not harvest more than 1/3 of the foliage in the first year so the plant has time to regrow. In the second year and thereafter the plants will flower and leaves can be harvested freely.

Did You Know?

The common name horehound comes from the Old English words har and hune, meaning “downy plant”. This descriptive name refers to the white hairs that give this herb its distinctive hoary appearance.

Our Favorite Horehound to Grow

Horehound Plant Spacing

In-Ground Planting

Row Spacing - 12 to 14 inches

Plant Spacing - 10 to 12 inches

Planting Depth - 1/4 inch

Raised Bed Planting

Row Spacing - 12 to 14 inches

Plant Spacing - 10 to 12 inches

Planting Depth - 1/4 inch

Horehound Soil, Irrigation, & Fertilizer

Soil Requirements to Grow Horehound

  • Loose, well-draining soil
  • pH between 5.5 and 8.0
  • Rich in organic materials
  • Good quality compost added to the soil

Horehound Irrigation Requirements

Horehound plants need at least 1 inch of water per week. Using drip irrigation is always recommended to be sure that your plants are getting moisture directly to their root system. If you’re using conventional overhead watering techniques, try and use something like the Dramm Watering Can and water and fertilize at the base of the plant to keep moisture off the leaves. 

Raised Bed Fertilizer Schedule

Several Weeks Before Planting

Test your soil with the HOSS Soil Sample Kit.

At Time of Planting

After adjusting soil pH to 5.5 – 8.0, mix 1 1/2 cups per 10 ft. of row or ¼ cup per plant of Hoss Complete Organic Fertilizer with your soil.

2 Weeks After Planting

1 cup Hoss Micro-Boost Micronutrient Supplement with 5 gallons of water. Each plant gets 1 quart of the solution next to the plant stem. Repeat every 4 weeks.

4 Weeks After Planting and Every 4 Weeks

1/4 cup of Hoss Complete Organic Fertilizer per plant evenly spread around plant.

In-Ground Fertilizer Schedule

Several Weeks Before Planting

Test your soil with the HOSS Soil Sample Kit.

At Time of Planting

After adjusting soil pH to 5.5 – 8.0, mix 1 1/2 cups per 10 ft. of row or ¼ cup per plant of Hoss Complete Organic Fertilizer with your soil.

2 Weeks After Planting

1 cup Hoss Micro-Boost Micronutrient Supplement with 5 gallons of water. Each plant gets 1 quart of the solution next to the plant stem. Repeat every 4 weeks.

4 Weeks After Planting and Every 4 Weeks

1/4 cup of Hoss Complete Organic Fertilizer per plant evenly spread around plant.

Horehound Pest & Disease Protection

Insects

Organic Controls

Horticulture Oil
Aphids, Flea Beetle, Whiteflies, Spider Mites, Thrips

Bug Buster-O
Aphids, Flea Beetles, Whiteflies, Moths, Armyworms

Monterey BT
Caterpillars, Cabbage Loppers

Take Down Garden Spray
Aphids, Flea Beetle, Whiteflies, Moths

Diatomaceous Earth
Cutworms, Ants, Slugs

Sluggo Plus
Slugs

Treat as needed using label instructions.

Common Diseases

Organic Controls

Complete Disease Control
Gray Mold, Leaf Spots, Anthracnose, Powdery Mildew

Treat as needed using label instructions.

Harvesting, Preserving, and Storing Horehound

When & How To Harvest Horehound

If you cut the plant back to the ground after flowering, it will usually grow a second crop. Once the plant finishes flowering for the season, the stems turn woody and the leaves lose their flavor. Unless you want to harvest seeds, there’s no point in letting the plant go to seed. Store leaves and stems wrapped in paper towels and placed inside a zip-top bag in the refrigerator. They can last a week or two this way. Wash the leaves right before you use them.

Storing & Keeping Horehound

Drying is the best way to preserve the leaves, and the plant retains its scent and flavor upon drying. Actually, the flavor improves quite a bit as the leaves dry. To dry, hang bundles of the leaves tied together upside down in a shaded area with good air circulation.

Come See Our Horehound!

Horehound Growing Tips & Tricks

Medical Benefits

Horehound has numerous medicinal uses. It is a carminative, antispasmodic, astrigent, vulnerary, antiparastic, anti-inflammatory, expectorant, diuretic, diaphoretic, and a digestive.

Cold Stratification

The process of cold stratification helps wake the seed up from this level of dormancy. To start, wrap the seeds in a damp paper towel and seal them in a plastic bag. Place the plastic bag in the refrigerator for two months. Then, start the seeds in grow trays as you would for any other plant.  After the seeds have sprouted, move them to their grow area.

Zinnia Growing Guide

Zinnia Growing Guide

Zinnias are the ultimate "cut-and-come-again" flower, making them a staple for any serious cutting garden or pollinator-focused landscape. These heat-loving annuals are remarkably easy to grow, offering an explosion of color from early summer until the first frost. By mastering a few simple techniques—like the "pinch" for more blooms and a strict fertility schedule—you can keep your zinnias productive and disease-free all season long.

Read more
Sunflowers Growing Guide

Sunflowers Growing Guide

Sunflowers are the iconic heart of the summer garden. Whether growing professional cut flowers or towering giants, these hardy plants provide instant vertical interest and a feast for pollinators. Success depends on choosing the right variety and managing their heavy nutrient needs. This guide covers the HOSS way to grow sturdy, vibrant sunflowers from seed to bloom, ensuring your garden shines all season long.

Read more
Winter Squash Growing Guide

Winter Squash Growing Guide

A lot of people have the misconception that winter squash is different from summer squash because they are grown in the winter and summer squash is grown in the summer. However, this is not the case. Both types are grown in the same season...
Read more